Today I’m publishing this simple guide on how to create an MkDocs Material website on GitHub or GitLab Pages, with minimal hassle and free forever. I’m doing this since the pufferfish is having technical problems and, I also fear, doesn’t seem to be able to understand the process full by himself… but no worries! After all, what use are we magical girls to the world if we are not helping other people?
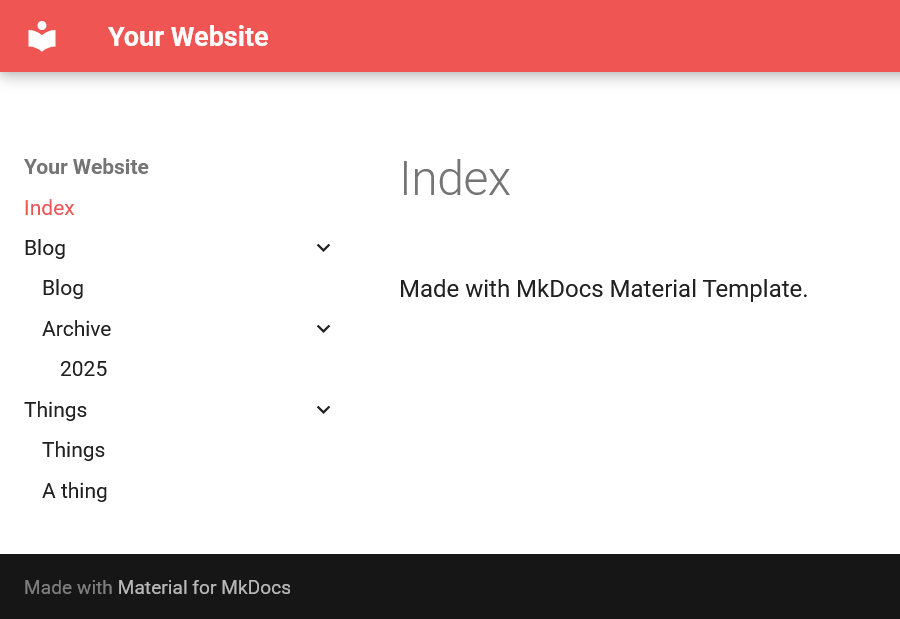
For this, I’ve prepared a source repository, accessible at the links below, which already includes a full configuration. It can be easily customized and extended, but is already set up with all the best quality of life feature MkDocs can offer, so it’s perfect for both technical and non-technical users. Some sample files in the /docs/ folder are also included, to showcase how everything works and how to stucture pages inside the website.
- GitHub: https://github.com/octospacc/mkdocs-material-template
- GitLab: https://gitlab.com/octospacc/mkdocs-material-template
Go to the page for your preferred code hosting service, and fork the repo to whatever name you want, ensuring to leave it public. You will get a copy of the entire template on your own account and, just by doing this, you’re already halfway there with deploying your new website, which by default includes both structured documentation and a blog section!
Something you probably want to do now is to edit the configuration file for the website, /mkdocs.yml. There are some settings you shouldn’t touch if you don’t know what you’re doing, so in case of any doubts I forward you to the MkDocs Material documentation. But, in essence, this is what you for sure can (and probably should) change:
site_name: Set this to what you actually want the site to be called.theme>language: The language of your website, which should be set accordingly to the language in which most of your content is written.theme>palette>primary: The primary color of site; refer to the documentation for Changing the colors for more information.- If you want links back to your source repository directly in the website pages, uncomment
repo_urland set it to your actual repository URL. - If you have no use for a blog, you can disable the feature by removing (or commenting out) the
plugins>blogblock, and deleting the/docs/blog/folder.
Thanks to the included CI workflow files and build scripts, your site should almost be live by now. The only thing left is to change some platform-specific settings, to ensure the setup is actually complete:
- For GitHub:
- Go to Settings > Actions > General (
https://github.com/<your-username>/<your-website>/settings/actions), scroll to Workflow permissions, check Read and write permissions, and click Save. - In Settings > Pages (
https://github.com/<your-username>/<your-website>/settings/pages), set the Source to Deploy from a branch, and the Branch togh-pages,/ (root). If the option doesn’t appear, the build workflow either failed or never started, which can happen; in that case, run it manually or push a commit to trigger it.
- Go to Settings > Actions > General (
- For GitLab, you need to ensure the website is actually viewable for the public. In your repository, go to Settings > General > Visibility (
https://gitlab.com/<your-username>/<your-website>/edit#js-shared-permissions), and set Pages to Everyone With Access, then click Save changes.
And now, if the stars haven’t dealigned for you, your website should actually be live already! Depending on your repository name, you should be able to visit it at https://<your-username>/<platform>.io/<your-website>/. Now that you actually have a website, though, you must remember to actually write something on it, by adding Markdown files inside /docs/ and possibly subdirectories… but this is no longer my problem, so my tutorial ends here!